DogeCash Masternode Setup Guide
This guide will assist you in setting up a DogeCash Masternode
on a Linux Server running at least Ubuntu 18.04
If you require further assistance feel free to ask in the #dogenode channel on our Discord server.
Requirements
15,000 DOGEC
A VPS server running at least Ubuntu 18.04 (20.04 Recommended)
A Windows or Mac OS local wallet
An SSH client
This guide is using Vultr hosting as an example, but you can use any hosting provider which meets our requirements.
[ 512MB RAM, 10GB SSD ]
Section 1: Creating the VPS within Vultr
Step 1
Step 2
After you have added funds to your account go here to create your Server
Step 3
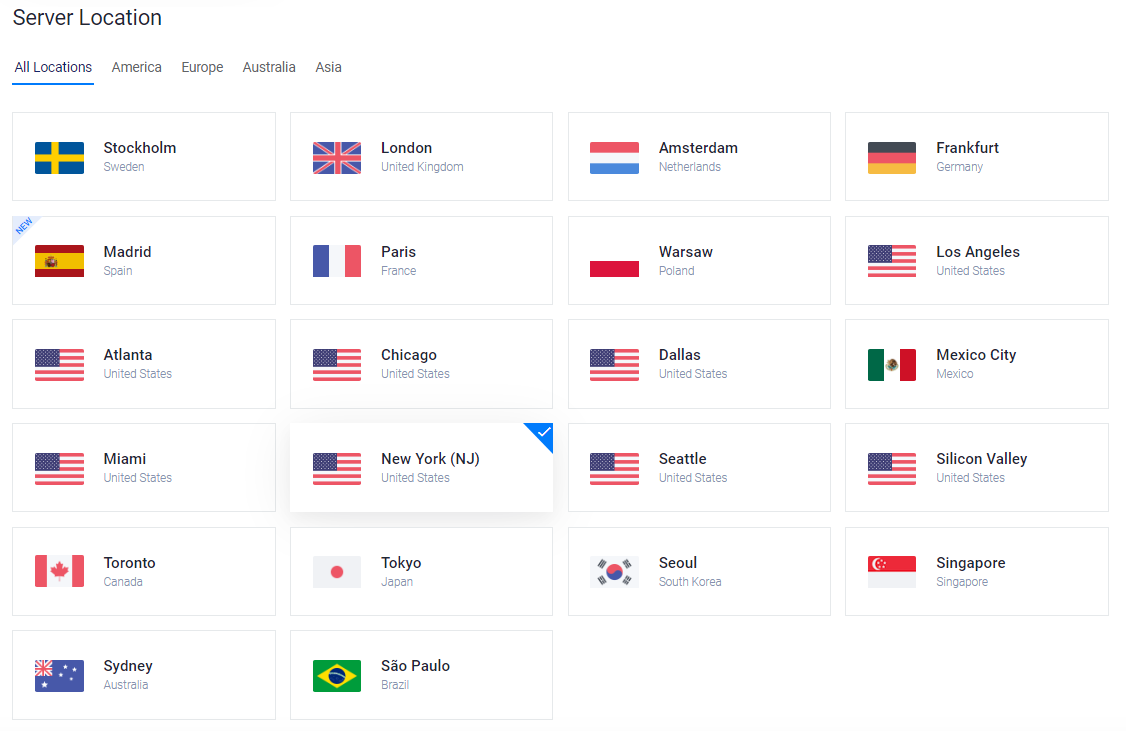
Choose a server location (preferably somewhere close to you)
Step 4
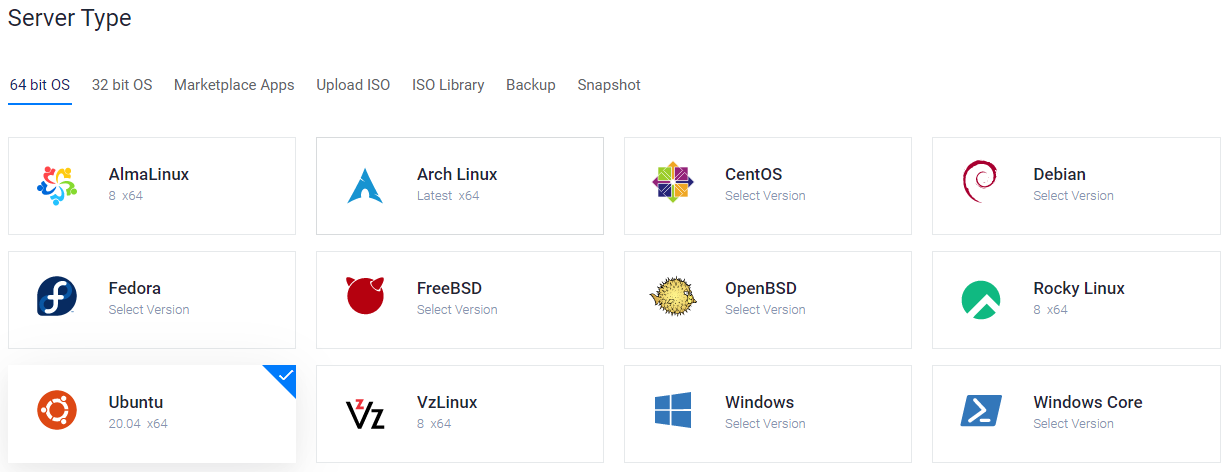
Choose a server type: Ubuntu 20.04
Step 5
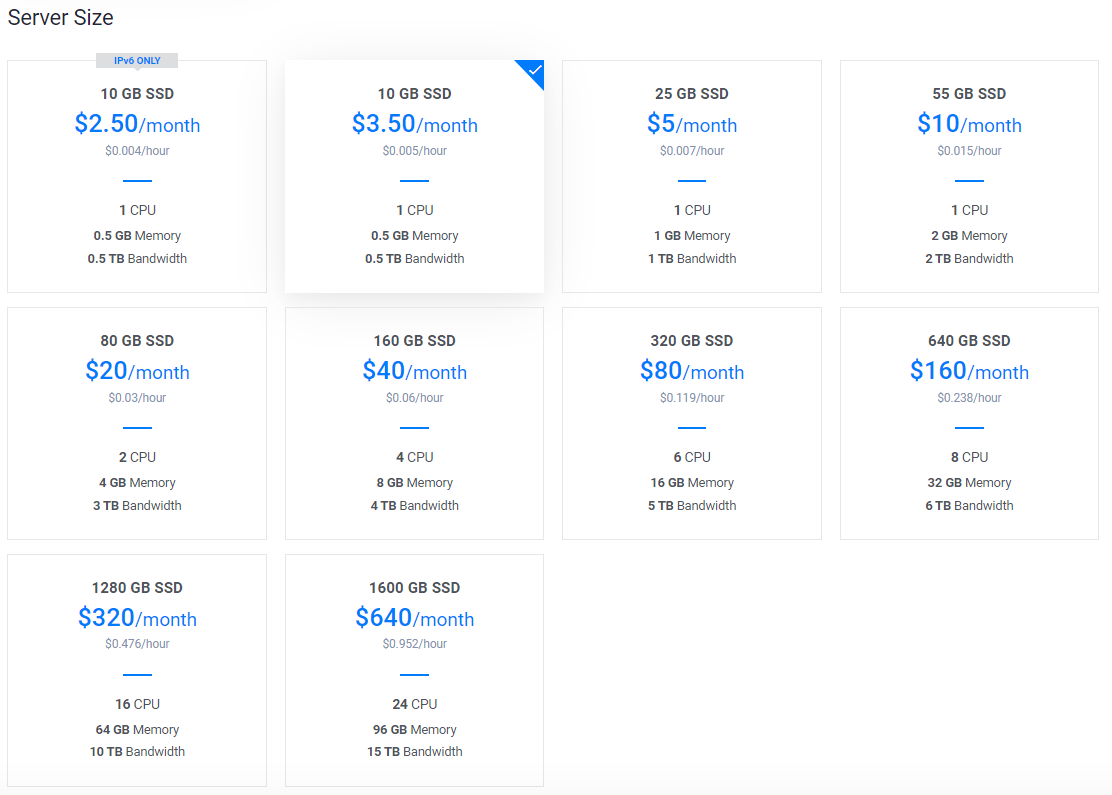
Choose a server size: $3.50/month will be fine. If you have experience using IPv6 the $2.50/month is also supported.
Step 6
Set a Server Hostname & Label (name it whatever you want)

After clicking Deploy Now Vultr will install your server. This process may take a few minutes.
Click Manage when installation is complete and take note of the IP address, username and password.
Section 2: How to Install an SSH Client and Connect to an SSH Server on Windows
Linux servers do not usually include a desktop interface, so it is not possible to log in by RDP or VNC with most servers. Instead, log in with a shell client that connects to the server with a remote command line interface, or a FTP client that displays the command line data as a file browser.
Step 1
First, download Putty, an SSH client for Windows (Official Download Page).
Step 2
Enter the IP address of your Vultr VPS server. The port should be 22 (default), and Connection Type: SSH.

Click Open.

The first time connecting to your VPS will give the following Security Alert pop-up. Click Yes.
Step 3
A terminal window will appear prompting for the login user. Type root or another user if you know the username. Enter the password by typing into the terminal. To paste your password use right click on your mouse. CTRL+V will not work!
No characters will appear on the screen as you type – this is normal.
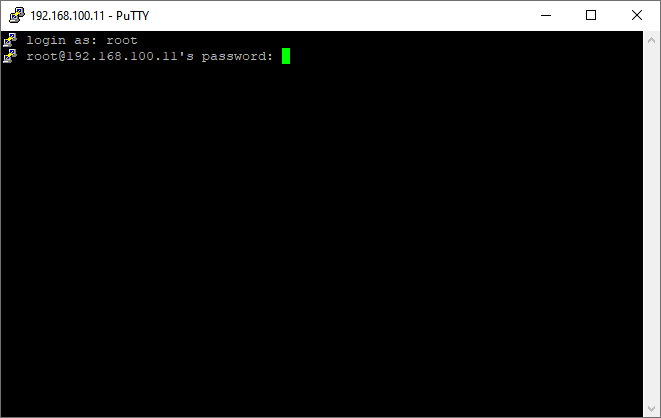
If you have entered in everything correctly, you should now be connected to your Vultr server!
Now please run the command below to update your Ubuntu server:
sudo apt-get update && sudo apt-get -y upgrade
If you are are not able to connect to your VPS please follow this guide which explains the procedure more in depth.
Section 3: Installing the MN script via SSH Client
Step 1
Paste the code below into the terminal then press enter.
wget https://raw.githubusercontent.com/ShadXo/DogeCashScripts/master/dogecash.sh -O dogecash.sh && chmod +x dogecash.sh && ./dogecash.sh
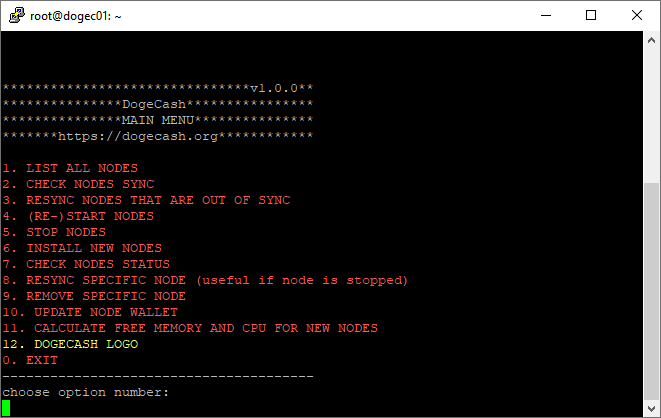
Pick option 6 and press enter.
It will ask a few questions and it will install the masternode.
Step 2
After it’s done you will see all the relevant information for your server.
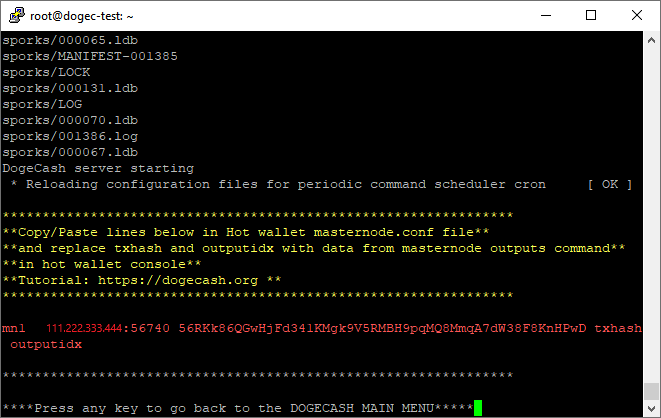
Installing the Masternode will take some time, please have patience.
Keep this terminal open as we will need the info for the wallet setup.
Section 4: Preparing the Local wallet
Step 1
Download and install latest DogeCash wallet here
Step 2
Create a new DOGEC address & send EXACTLY 15,000 DOGEC to a receive address within your wallet. Make sure you have slightly more on your balance to cover any transaction fees.
Step 3
Create a text document to temporarily store information that you will need. Wait for the transaction created in step 2 to have 10+ confirmations before proceeding to step 4.
Step 4
Go to the console within the wallet ( Settings > Debug > Console )

Step 5
Type the command below and press enter
getmasternodeoutputs
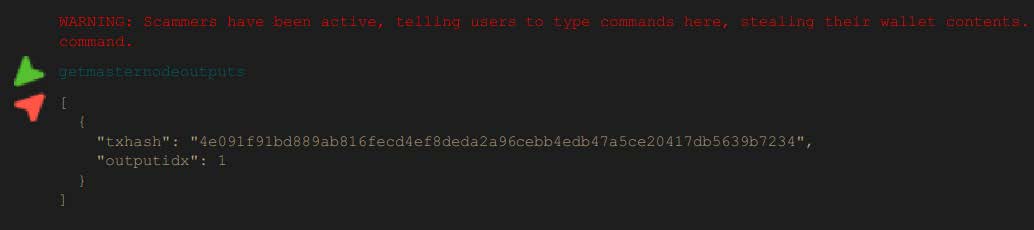
Step 6
Copy the long key (this is your transaction ID) and the 0 or 1 at the end (this is your output index) Paste these into the text document you created earlier as you will need them in the next step.
Section 5: Connecting & Starting the Masternode
Step 1
Edit the wallet masternode.conf (masternode configuration file)
Default Location:
Windows: C:\Users\[username]\AppData\Roaming\DogeCash Core
macOS: /Users/[username]/Library/Application Support/
Step 2
Fill in the form.
For Alias type something like “MN1” don’t use spaces
The Address is the IP and port of your server (this will be in the putty terminal that you still have open).
The PrivKey is your masternode private key (This is also in the putty terminal that you have open).
The TxHash is the transaction ID/long key that you copied to the text file.
The Output Index is the 0 or 1 that you copied to your text file.


* When using IPv6 the IP address should be within brackets [ ].
If your config file looks similar Click “File” > Save.
Step 3
Restart the Wallet and click on the Masternodes tab.
Click Start Inactive/s in the Masternodes tab.
Alternatively you can try opening the debug console and starting the masternode with the following command: startmasternode alias 0 MN1 (Where MN1 is your masternode’s alias)
Step 4
Check the status of your masternode within the VPS by using the menu:
wget https://raw.githubusercontent.com/ShadXo/DogeCashScripts/master/dogecash.sh -O dogecash.sh && chmod +x dogecash.sh && ./dogecash.sh
Pick option 7.
Fill in your alias and press enter or press enter without entry to see the status of all nodes.
You should see status 4 ( Masternode need time to get in to this status )
If you do, congratulations! You have now setup a masternode.
If you have any questions or need help, please contact us on Discord
After a few hours it’s a good idea to check the wallet (to make sure) if the masternode is active and running.
If your masternode status indicates “missing” when checking the wallet, you can start the missing masternode by clicking on Start Inactive/s.
Official Links
Website
Whitepaper
Block Explorer
Wallet
https://github.com/dogecash/dogecash/releases
Discord
GitHub
BitcoinTalk